This section describes the Sitecore installation program which guides you through the setup process.
3.1. Introduction
Sitecore 5.3 installation program consists of two separate.exe installation files:
- setup_Sitecore53XbuildXXXX.exe
- setup_Sitecore53XbuildXXXX_DB.exe
If you wish to setup both the Sitecore SQL databases and the Sitecore Client on the same machine, you will only need the setup_Sitecore53XbuildXXXX.exe file.
If the databases are to be hosted on a separate database server, you should run setup_Sitecore53XbuildXXXX_DB.exe on that server first, and then perform the installation of the Sitecore Client on the client machine. In the latter case you should edit the connection string so that it points the client installation to the actual location of the databases.
The User Manual below describes the correct way of Sitecore 5.3 installation.
3.2. User Manual
Below we consider the case when the databases are hosted on a separate database server.
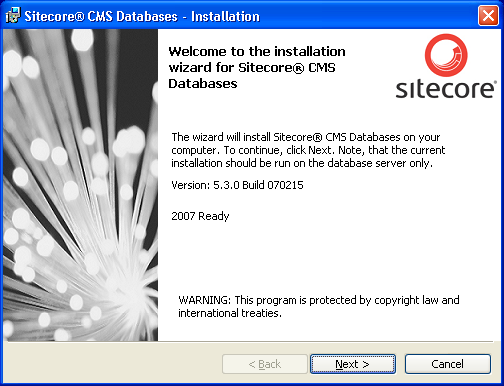
Download the setup_Sitecore53XbuildXXXX_DB.exe file from the Sitecore 5.3 download page, start it and follow the instructions provided by the setup wizard. Below is a brief description of the wizard’s steps.
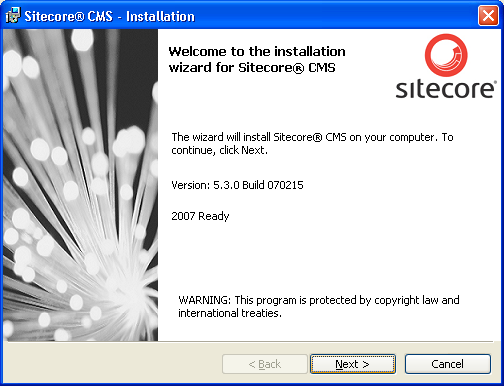
- Review the Welcome dialog.
-
The License Agreement dialog.
Read the license terms and select Accept if you agree to continue the installation, or Decline if you disagree and cancel the installation.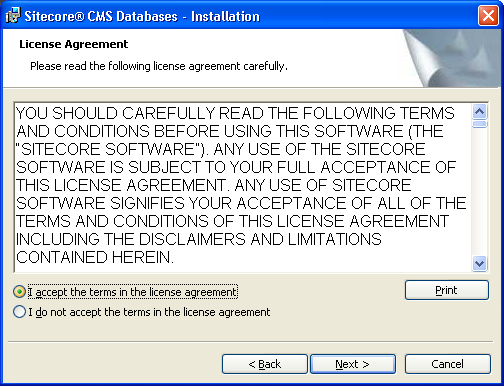
-
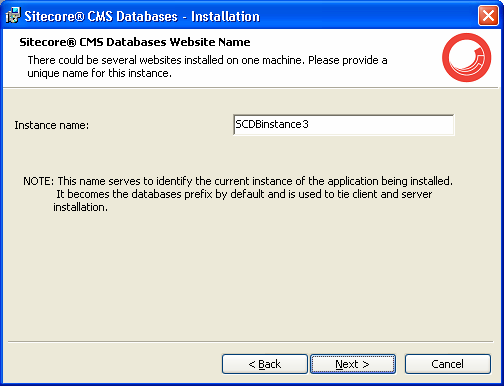
The Instance Name dialog.
- SQL Server 2000
The Instance Name is a unique name which serves as a database prefix and the folder name for the database files to be stored. You should use this instance name for the client installation afterwards (it is called Website Name in that context).
- SQL Server 2005/Express
The Instance Name is a unique folder name for the database files to be stored.
- SQL Server 2000
-
The Destination Folder dialog.
This dialog allows changing the default destination folder for the Sitecore databases.
SQL Server 2005/Express
You should also use this path during the installation of the Sitecore Client afterwards. This path will be written in to the configuration files to specify the database location.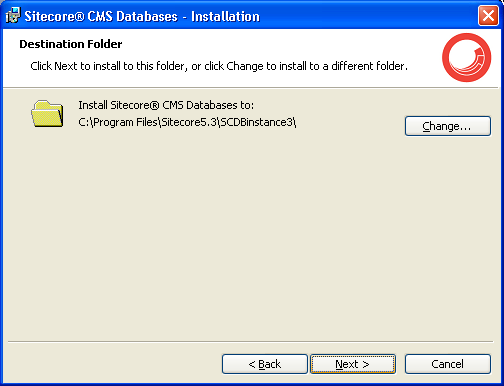
-
The Database Vendor dialog.
Choose the database type you wish Sitecore to run on after the installation. There are two options available: SQL Express / 2005 and SQL 2000.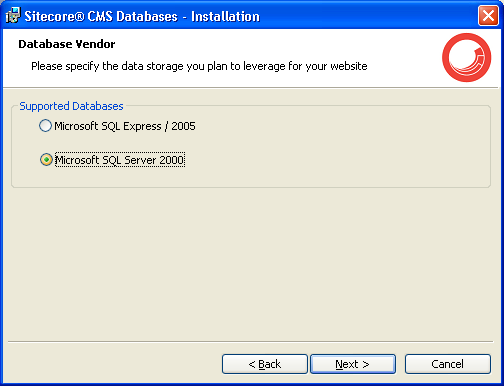
-
The SQL Login Settings dialog (MS SQL 2000 case only).
Provide the connection settings for MS SQL database types here.
By default sa user is used. Click here to read about how to create a new database account to use with the Sitecore databases.
When you press Next, the installation program will try to establish the connection using the parameters specified. If the attempt is successful, you will be allowed to proceed. Otherwise, the program will offer to try again. Note that you should provide the SQL Server name, which is used on the current server. Otherwise, the installation will not be performed correctly.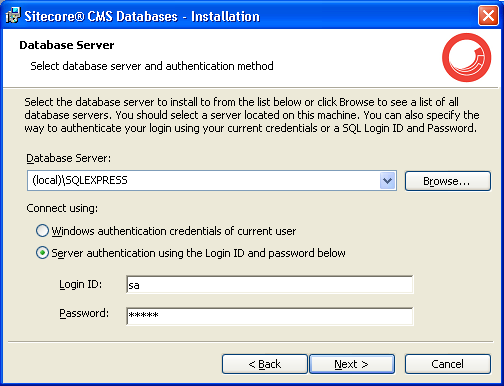
-
Ready to Install dialog.
Press Install to start the installation process or Back if you wish to change something.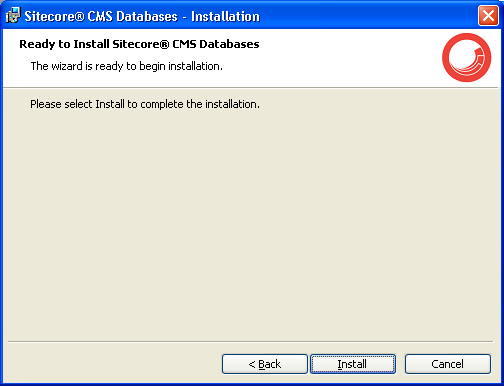
-
Installation complete dialog.
This dialog will be displayed when the installation is successfully completed.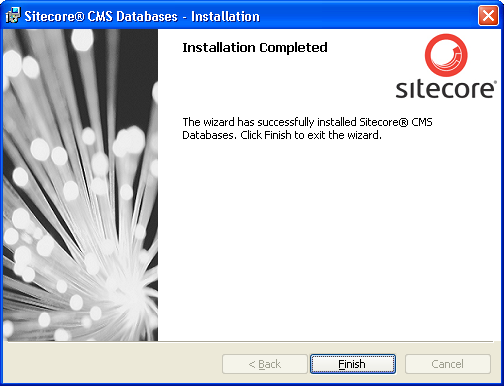
Sitecore Client Part Setup
Download the setup_Sitecore53_xx_.exe file from the Sitecore 5.3 download page, start it and follow the instructions provided by the setup wizard. Below is a brief description of the wizard’s steps.
Note: a new IIS site should be created before the installation process if such is supposed to be used.
- Review the Welcome dialog.
-
The License Agreement dialog.
Read the license terms and select Accept if you agree to continue the installation, or Decline if you disagree and cancel the installation.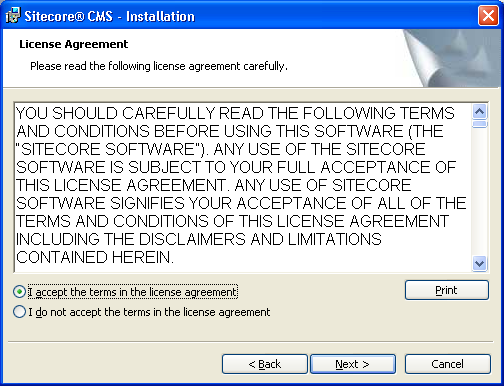
-
The prerequisites dialog.
The installation checks the prerequisites at the very beginning of the installation. This dialog shows the results of the check. If your machine satisfies the prerequisites, the green checkmark is displayed; otherwise you will see a red cross mark. There is also an option to install ASP.NET 2.0 component on the chosen site.
This option is checked by default. If the last prerequisite from the list is not satisfied, it is strongly recommended to leave this checkbox checked. If you uncheck it, then you are made responsible for the web site configuration.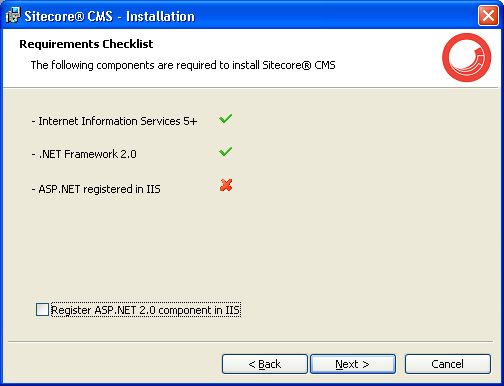
-
The License dialog.
Browse and point the valid Sitecore license. Only in this case you will be allowed to proceed with the installation. Click Browse button and select the license file, then click Next.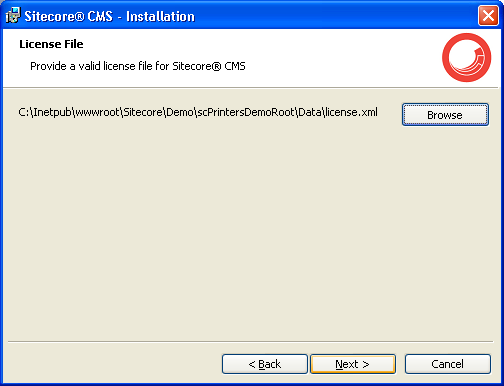
-
The Website name dialog.
Enter the name of the Sitecore website here. Due to the fact that several instances of Sitecore can be installed on one machine, this name serves as a unique identifier for the rest of the information related to this particular instance.
SQL Server 2000
The Website name must be the same as the Instance Name specified during the database installation.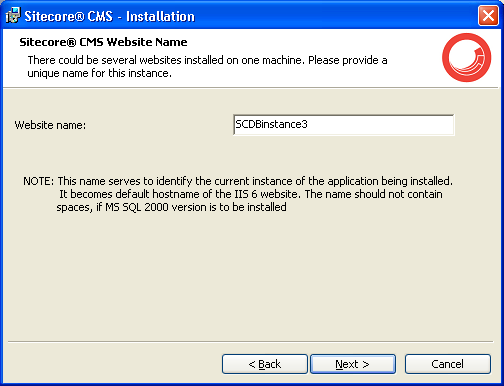
This name will also be used as the IIS site name if you choose to create one on the Choose IIS site dialog.
-
The Destination folder dialog.
This dialog allows changing the default destination folder for Sitecore.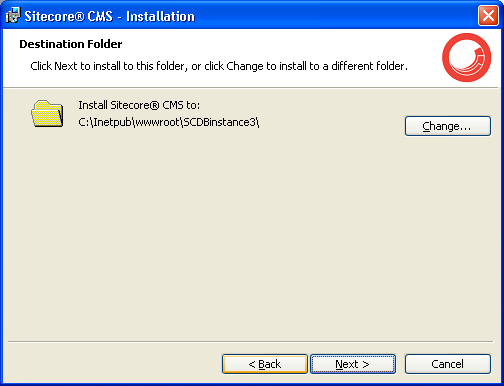
-
Choose IIS site dialog (Win2003 only).
If you install Sitecore on Windows 2003 operating system, this dialog lets you specify whether you wish to create a new IIS website for the new Sitecore instance, or use any existing one. The checkbox “Create IIS site” is set by default. If you uncheck it, the dropdown menu with all available sites will appear. Choose a site, and Sitecore will be accessible through this site after the installation.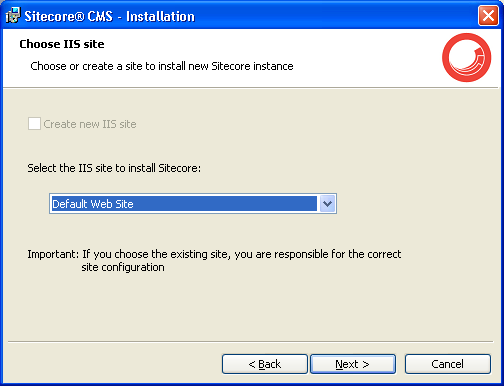
-
The Database vendor dialog.
Choose the database type you wish to run Sitecore on after the installation. Note that if you choose Oracle or MySQL, no database backups for these vendors will be installed. Sitecore client will be just tuned to run with Oracle or MySQL databases. If users choose the SQL Express/2005 or MS SQL 2000 option, the installation program offers to provide the installation type (install both client and server side part on this machine or just the client, assuming that the databases were set up according to the procedure above on a database server). If the option SQL Express / 2005 is chosen and the installation type is client only, then the program offers to enter the physical path, where the database files are located on the database server.
SQL Server 2005 ExpressNote: the path to the folder with databases should have a trailing slash. For example:
C:\databases\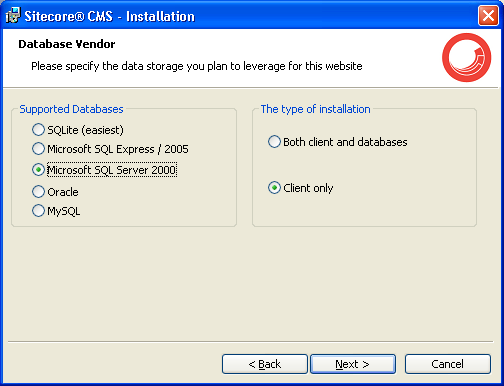
-
The SQL login settings dialog (SQLExpress or MS SQL case only).
Provide the connection settings for MS SQL or SQL Express database types here. In case of MS SQL 2000 or SQL Express / 2005 option and client only installation type, the name of database server should be entered, where the databases are already installed. When you press Next, the installation program will try to establish the connection with the parameters specified. If the attempt is successful, you will be allowed to proceed. Otherwise, the program will offer to try again.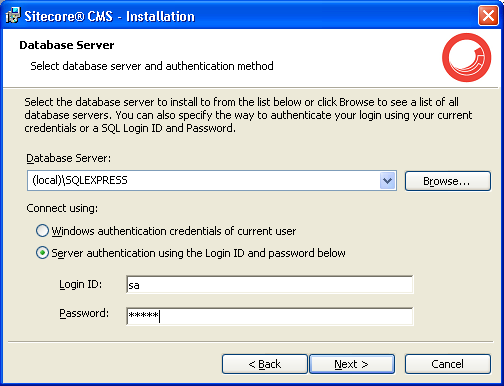
In particular situations server administrators may not want to use the sa user to connect to databases.
Read how to create a new SQL 2000 database account to use with the Sitecore databases.
Read how to create a new SQL 2005 database account to use with the Sitecore databases.
-
The Database files dialog.
By default the program allows installing all the database files, disregarding the database vendor which was chosen. This dialog allows you to uncheck the database files you don’t want to be installed in order to save the disk space. The database files of the vendor you chose will be installed.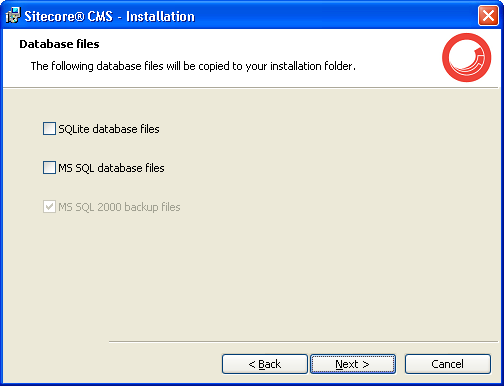
-
Ready to install dialog.
Look through your choices here. There is also an option to switch the IIS root to the newly created Sitecore instance. Press Install if you agree with the settings or Back, if you wish to change something.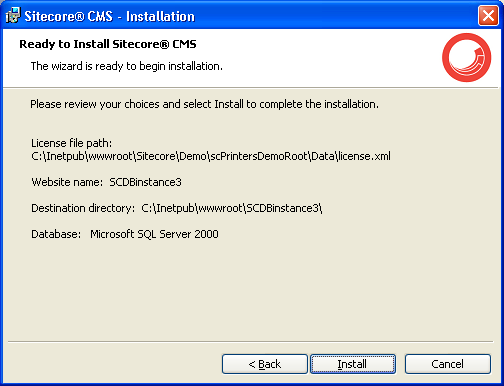
-
Installation complete dialog.
This dialog will be displayed if the installation is completed successfully. You may check the Run Sitecore checkbox to run Sitecore after clicking the Finish button.
Important Notes:
- Make sure you have disabled anonymous access to the /sitecore/rest.html file after the installation. See Post-Installation Steps section for details.
- The installation program performs IIS backup at the very beginning. Thus, there is an option to repair the IIS in case of failure.
- The installation program automatically sets ASP.NET version to 2.0 in IIS without asking a user. The reason is that Sitecore 5.3 runs under .NET Framework 2.0.
- The installation program can install as many instances of Sitecore on one machine as you wish.
- The Sitecore configuration files are automatically modified according to the settings provided in the wizard.
- The windows authentication is disabled in the SQL Login settings dialog, because Sitecore 5.3 supports SQL authentication.
- The XmlControls.ThrowException web.config setting specifies if an exception is thrown when an Xml Control cannot be loaded. It is true by default, as long as it provides better debugging possibilities, but under certain conditions it might prevent the Sitecore client from working. Any errors are written to the log.
3.3. Installation Program Actions
This document describes the actions made by the Sitecore installation program towards the target system.
3.3.1. Installation Stage
-
Extracting the installation files.
This action is performed on the very beginning. The files are extracted to the temporary folders of a system drive. The folder is %SystemDrive%\Documents and Settings\[User]\Local Settings\Temp.
-
Retrieving the IIS version.
The installation program queries the registry to get the IIS server version.
-
Performing IIS configuration backup.
In case when installation fails and breaks the IIS down, there is a possibility to restore the initial IIS configuration from backup.
-
Selecting accessible IIS web sites.
The installation queries the IIS metabase and gets the list of available web sites to let the user choose among them.
-
Retrieving the .NET version.
The installation queries the registry to verify whether.NET 2.0 is installed.
-
Checking whether the ASP.NET component is registered.
The installation queries the IIS metabase to check whether .NET framework is installed before the IIS server.
-
Copying the internal MSI package to the temp folder.
In order to have a possibility to install as many instances of Sitecore as possible, the installation is split into two parts. This action extracts the internal (main) installation package from the UI wrapper.
3.3.2. UI Stage
-
Detecting IUSR account.
The installation queries the target system to get the exact full name of the IUSR_XXX account. This is done to set appropriate permissions later.
-
Validating web site name.
The website name a user enters is verified for uniqueness. The installation program iterates the registry for installed Sitecore instances on current machine.
-
IIS site management.
If the user chose to install Sitecore into the existing IIS site, the root of that site is switched to Sitecore root.
-
Validating database connection.
If the user chose either SQL Server 2000 or SQL Server 2005/Express database vendor, the installation performs a connection validation. The behavior is the same for Server&Client and ClientOnly modes.
-
Retrieving the database files default location.
If the SQL 2000 option was chosen, the installation queries the server to get the default location of database files (mdf/ldf). The information is then used in the script which restores the databases from backups.
-
Starting the main installation.
After the Install button in the last wizard screen is clicked, the installation program passes all necessary parameters to the main installation package, which is actually responsible for installing the product on to the target system.
3.3.3. Installation Stage
-
Installing the files.
The installation program installs all necessary files to the destination folder specified by the user. The /data folder and /Databases folder are moved from the Sitecore website root.
-
Setting the permissions.
The installation program sets full control permissions on the website root and its subfolders for the ASPNET (for XP) / NETWORK SERVICE (for Win2003) and IUSR_XXX accounts.
-
Copying the license.
The installation program copies the license file from the location specified by user to the /data folder.
-
Creating IIS website.
If the user chose to create a new IIS website for Win 2003 target system, it is created on this step. The name and the hostname of the site are taken from the user’s input.
-
Registering ASP.NET component in IIS.
If the user chose to install ASP.NET component in the wizard window, the installation program runs aspnet_regiis –i command.
-
Removing anonymous access and setting execute permission.
The installation program removes the anonymous access permissions to the /sitecore/adminand/sitecore/debug folders and sets execute permissions to None for the /upload folder (IIS setting).Note: If you get an unauthorized access error trying to access a page in the /Sitecore/admin folder in your Sitecore installation, this is because the anonymous access to this folder was disabled. In order to allow the access back, follow the steps below:
- Open IIS manager console
- Expand the site
- Select the /Sitecore/admin folder, right click and choose Properties
- Switch to the Directory Security tab and click Edit
- Click the checkbox Anonymous access.
-
Setting ASP.NET version 2.0 active for the site.
Installation program sets the ASP.NET version to 2.0 for the site (either created or existing).
-
Setting content expiration.
The installation program enables the content expiration of IIS website and sets it to 7 days.
-
Setting permissions to Globalization folder.
The installation searches for the Globalization folder and grants ASPNET (or NETWORK SERVICE) account full control rights.
-
Adding hostname to the hosts file.
If the user chose to create a new site, then the appropriate hostname is written into system hosts file.
-
Registering performance counters.
The installer registers performance counters in the system and provides a possibility to use Performance monitor tool to examine Sitecore CMS performance.
Note:
If you are installing Sitecore manually from ZIP archive, download and run the script which registers performance counters from here: http://sdn.sitecore.net/faq/administration/sitecore%20log%20filling%20up%20with%20warnings.html.
The following link describes the performance monitoring of Sitecore: http://sdn.sitecore.net/Articles/Administration/Sitecore%20Performance/Miscellaneous/Performance%20Monitoring.html.
3.3.4. Uninstall Stage
-
Removing the temporary files.
Installation removes all installed temporary files from the target system.
-
Cleaning the registry entries.
The installation removes the keys and values it installed to the registry for subservient reasons. Afterwards, its instance (website) name can be used again.
-
Dropping the databases.
If the user chose SQL 2000 database vendor, then the databases are dropped during the uninstallation. In other case, the appropriate database files are removed.
-
Removing the IIS website.
If the user chose to create a new IIS website for the current Sitecore instance, it will be removed during the uninstall process.
3.4. Known Issues
-
Long delays between launching the setup.exe and seeing the installation wizard.
Some users may experience extremely long delays between launching the setup.exe and seeing the installation wizard. To verify that the installer is running in the background, open Task Manager and look for msiexec.exe under the Processes tab. If the process is present and using CPU, continue to wait for the wizard to appear.
Workaround: unplugging the machine from the network before installing Sitecore may help.
-
Installer has insufficient permissions to modify Archive.MDF (Windows Vista).
On Windows Vista the following message may appear during the uninstall process: “Installer has insufficient permissions to modify Archive.MDF”.
Workaround: set Full control permissions for the System account to the MDF files explicitly. Then start the uninstall process again.
-
“ASPNET user is not found” warning.
On the early steps of the installation process, the installation program may throw a warning “ASPNET user is not found” in some environments. If you are absolutely sure the ASPNET account on this machine exists, you can ignore the warning and press YES to continue the installation. In order to verify the presence of the ASPNET account manually, right-click My Computer, select Manage in the context menu, browse for System Tools » Local Users and Groups » Users in the tree on the left and make sure the user list contains the ASPNET account.